


All good wildlife and natural history photography should be more about concern for your subject than getting that elusive photograph. The age-old adage “whatever it takes to get the picture” has no place in our increasingly fragile natural world. With that in mind, I’d like to share with you some tips on photographing polar bears from a Tundra Buggy, making sure your subject remains safe and respected, while you go home with amazing pictures of the animals you love.
Be prepared. There’s no substitute for being deeply familiar with your camera. This only happens by spending time using it. Most travelers don’t have the luxury of using their cameras every day, but it’s imperative to refresh your memory before you get to the field to shoot.
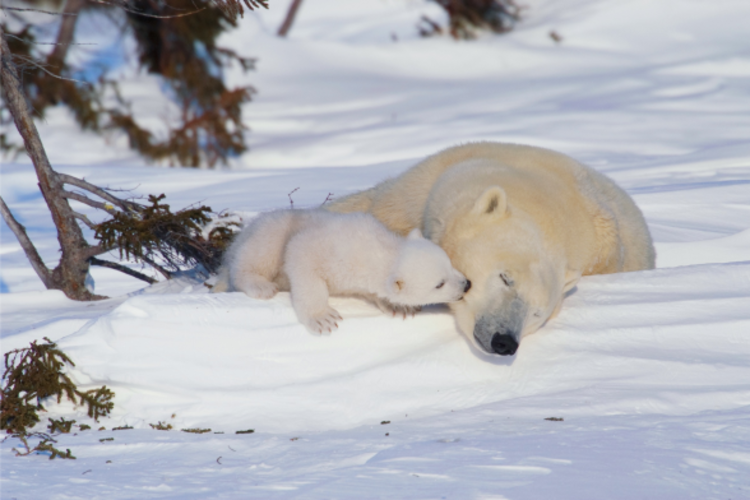
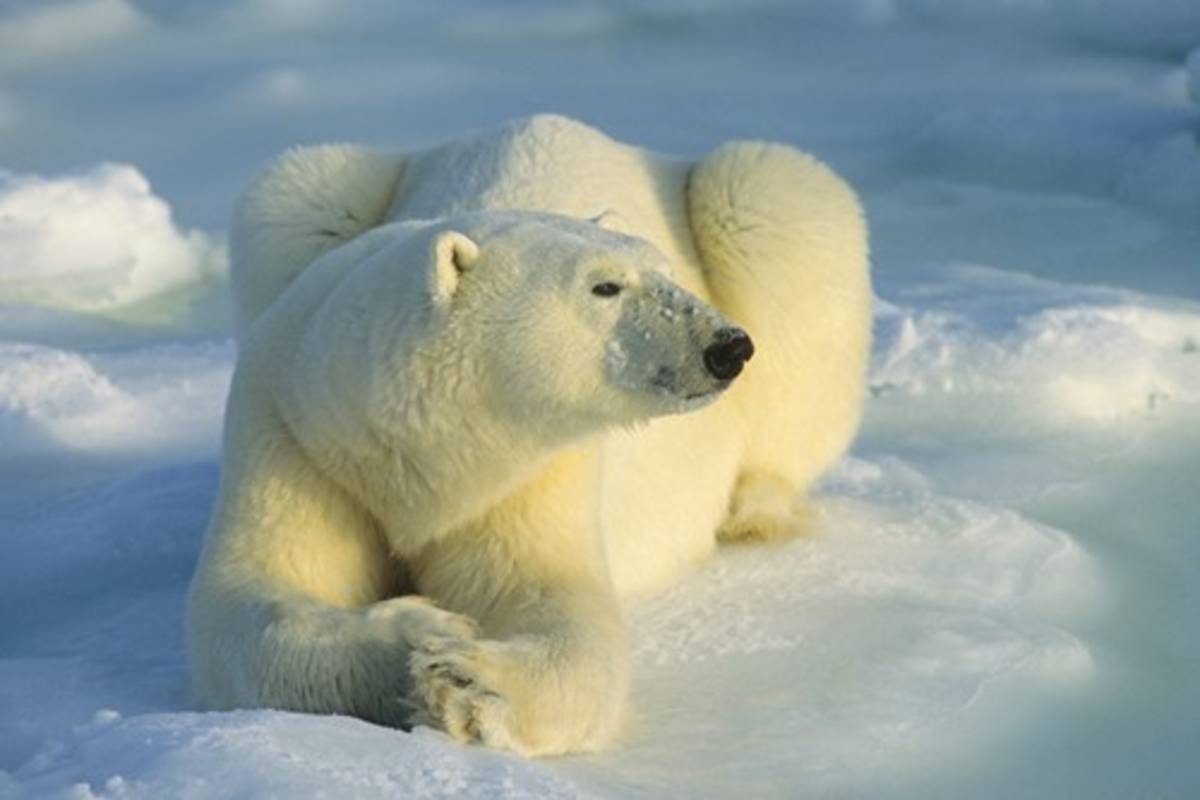
Use your histogram. All digital cameras have a histogram, which lets you see if you’re getting a proper exposure. The rule of thumb for a white polar bear on white snow on a cloudy day is to compensate your exposure by +1 stop from what your camera suggests. If it’s bright and sunny, with the same subject matter, you can trust your camera meter, with no need for compensation.
Move gently and slowly when shooting in a Tundra Buggy and do your best to not slam the door when going out on the back deck. Wild animals are not accustomed to the noisy environment we humans thrive in. Your travel partners will also appreciate it since many come to the Arctic to get a dose of peaceful, natural bliss.
Stabilize your camera. Bean bags are my number one preference for stabilizing my cameras. They’re relatively lightweight, easy to move at a moment’s notice, and don’t have legs, like a tripod. Tripods protrude into other bear watchers’ space, often extending out into the aisle where they can easily trip people.
For sharpest images make sure you use a one stop higher shutter speed than the lens you’re using. In other words, if shooting with a 300mm, on a full frame camera, you’ll want a shutter speed of 1/600th of a second or higher.
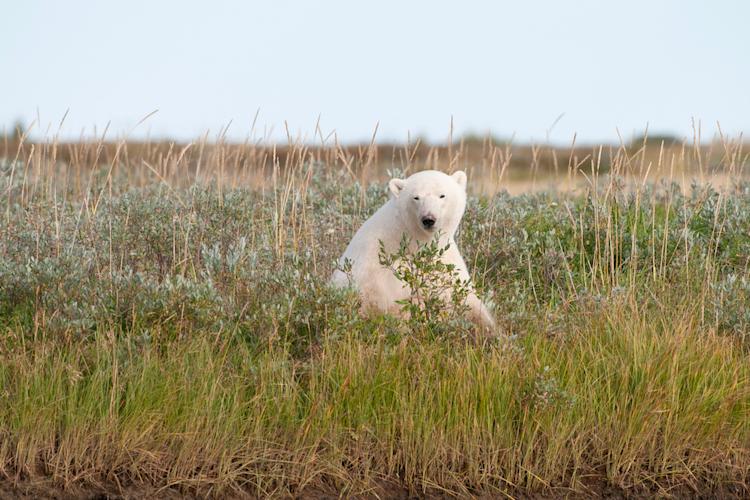
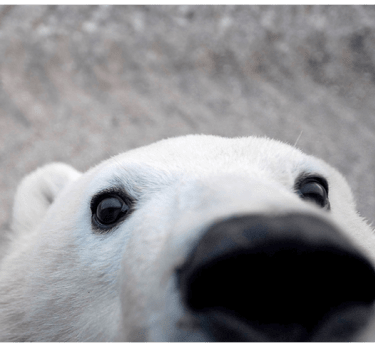
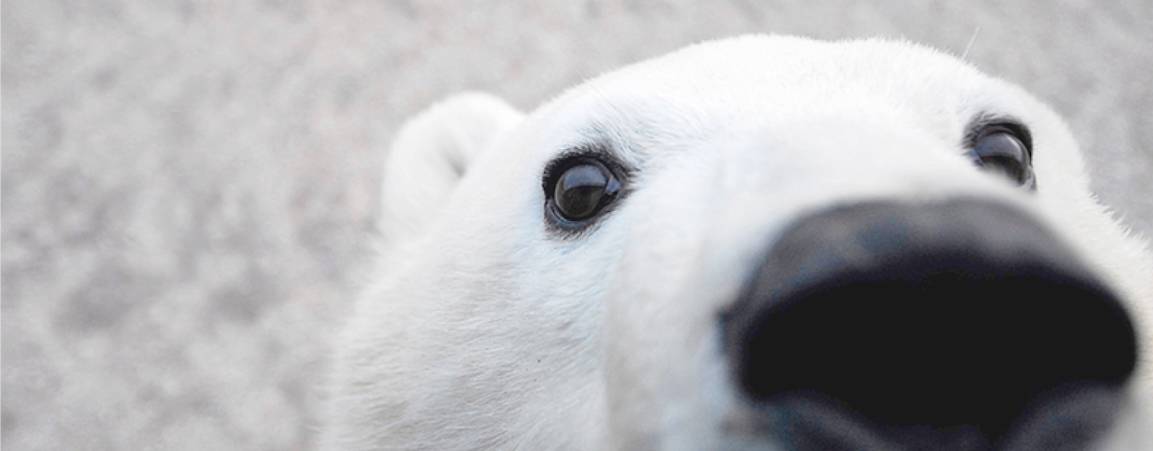
Think about the Rule of Thirds for better pictures. Dissect your viewfinder into thirds horizontally and thirds vertically. Wherever the lines intersect is a great place for something in the frame of interest. An example would be a bear as part of a large landscape. Or … a close-up of the head of a bear where the eyes fall into the upper thirds of the frame and the nose in the lower third.
Use the lowest ISO for less grain. When the light starts to fade it’s necessary to start using higher ISO settings. The higher he ISO on digital cameras, the more potential there is for what looks like grain. Reduce this effect by always using the lowest ISO possible. This is especially true for smaller, less expensive cameras.
Use a Cloudy White Balance setting when shooting sunsets or sunrises. The beautiful warm light we all get excited about is often reduced or removed when shooting Auto WB. Using Cloudy makes certain it will be the beautiful, colorful light you remember.
Polar bears are meant to be wild. We want to keep it that way, so they can coexist with humans for many generations to come. Geoff York, Polar Bears International’s senior director of conservation, reminds you to be respectful of the bears and your fellow wildlife viewers:
Avoid any actions that change the behavior of wildlife; in particular, do not feed the bears.
Resist the temptation to talk to polar bears or otherwise try to draw their attention. By remaining silent you may be lucky enough to hear them sniff or vocalize.
Polar bears can and do jump. Keep that in mind when viewing bears up close and pay attention to hanging straps, scarves, etc.
Daniel J. Cox of Natural Exposures has been pursuing his life-long dream of photographing nature in all its elements for over 25 years. He leads our Arctic Documentary Project.